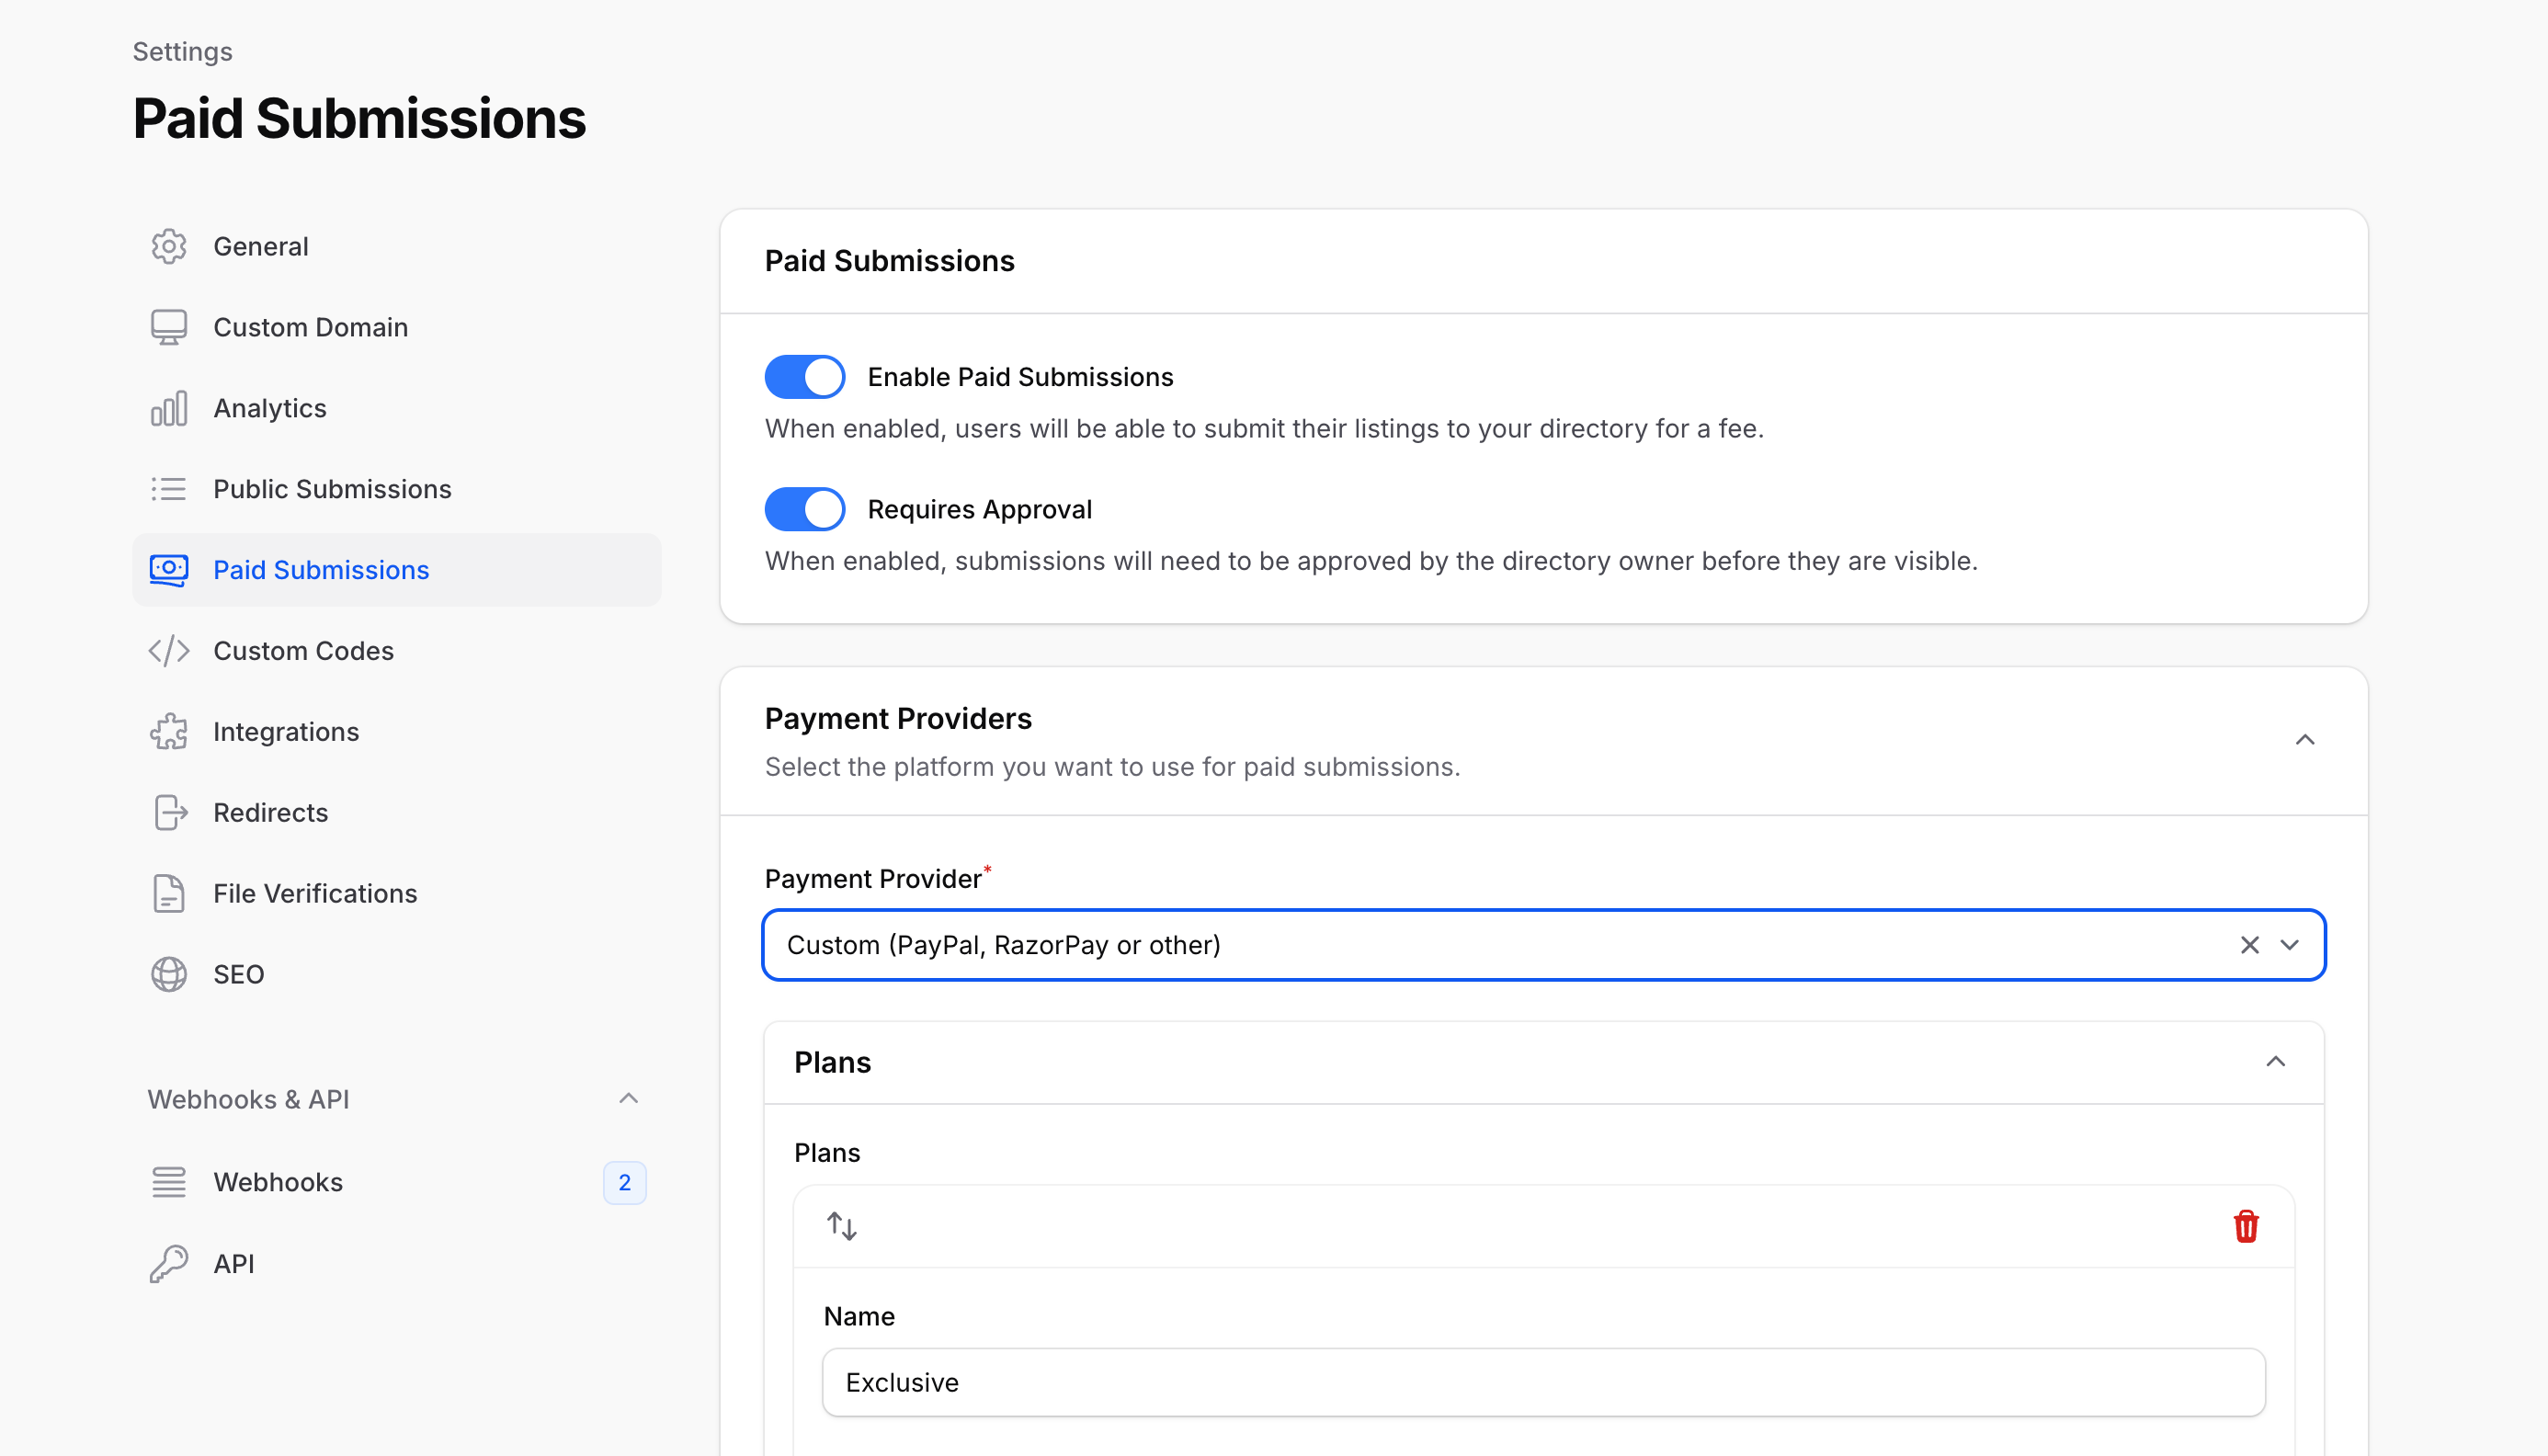
The Custom Payment Provider option gives you complete flexibility to integrate with any payment solution, including PayPal, RazorPay, Square, or any other payment processor. This approach is perfect when you need specific regional payment methods or want to use existing payment infrastructure.

Why Choose Custom Payment Provider?

Key Benefits

  • Maximum Flexibility - Use any payment processor you prefer
  • Regional Payment Methods - Support local payment options
  • Existing Infrastructure - Leverage your current payment setup
  • Lower Fees - Potentially reduce processing costs
  • Complete Control - Full ownership of the payment process
  • Custom Branding - Maintain your brand throughout the payment flow
Custom payment provider setup

Supported Payment Providers

  • PayPal - Global payment processing with buyer protection
  • RazorPay - Popular in India with local payment methods
  • Square - Comprehensive payment solution for businesses
  • Stripe Checkout Links - Simple one-click payment links
  • Gumroad - Digital product-focused payment platform
  • Paddle - Merchant of record service
  • 2Checkout - Global payment processing platform
  • Any Custom Solution - Your own payment infrastructure

1. Enable Custom Payment Provider

Initial Setup

  1. Navigate to SettingsPaid Submissions
  2. Toggle Enable Paid Submissions to ON
  3. Select Custom (PayPal, RazorPay or other) as your payment provider

Configuration Benefits

  • No API keys required
  • No webhook configuration needed
  • Complete manual control over plans
  • Flexible pricing and feature management

2. Create Payment Products

Before configuring your directory, create payment products in your chosen payment provider:

PayPal Example

  1. Log in to your PayPal Business account
  2. Go to PayPal Buttons or Invoicing
  3. Create payment buttons or invoice templates
  4. Copy the payment URLs for each product

RazorPay Example

  1. Access your RazorPay Dashboard
  2. Go to Payment Links
  3. Create payment links for each plan
  4. Copy the generated URLs

Stripe Checkout Example

  1. In your Stripe Dashboard, go to Products
  2. Create products with pricing
  3. Generate Payment Links for each product
  4. Copy the checkout URLs

3. Configure Plans in Your Directory

Manual Plan Creation

With Custom Payment Provider, you have full control over plan configuration:

Basic Plan Information

  • Name - Display name for your plan (e.g., “Premium Listing”)
  • Description - Detailed explanation of what’s included
  • Price - Display price with custom currency symbol
  • Currency - Set your preferred currency symbol ($, €, ₹, etc.)

Payment Configuration

  • Payment Link - Direct URL to your external payment processor
  • Button Text - Custom call-to-action text (e.g., “Buy Now”, “Subscribe”)
  • Text Below Button - Additional marketing text or incentives

Plan Features

  • Is Subscription - Toggle for recurring vs one-time payments
  • Interval - Subscription frequency (month, year, week, day)
  • Bestseller - Mark popular plans with a bestseller badge
  • Features List - Detailed feature comparison with enable/disable options
Custom plan configuration

4. Plan Management Examples

Basic Listing Plan

Name: Basic Listing
Description: Get your business listed in our directory with basic features
Price: $29
Currency: $
Payment Link: https://paypal.me/yourbusiness/29
Button Text: Submit Listing
Is Subscription: false
Features:
  ✓ Directory listing
  ✓ Basic contact information
  ✓ Logo upload
  ✗ Featured placement
  ✗ Social media links

Premium Subscription

Name: Premium Monthly
Description: Monthly subscription with enhanced features and priority support
Price: $49
Currency: $
Payment Link: https://buy.stripe.com/subscription-link
Button Text: Start Premium
Is Subscription: true
Interval: month
Bestseller: true
Features:
  ✓ Everything in Basic
  ✓ Featured placement
  ✓ Social media integration
  ✓ Priority support
  ✓ Analytics dashboard

5. Payment Flow Configuration

User Experience

  1. Submission - User submits their listing content
  2. Plan Selection - Available plans displayed with features
  3. External Payment - User redirected to your payment processor
  4. Payment Completion - User completes payment on external site
  5. Return Process - Manual verification and approval process

Manual Verification Process

Since webhooks aren’t available with custom providers, you’ll need to:
  • Monitor payments in your payment processor dashboard
  • Manually verify completed payments
  • Approve listings in your directory admin panel
  • Notify users of approval status

6. Advanced Configuration Options

Multiple Plan Types

One-Time Payments

  • Use Case: Single listing submissions
  • Configuration: Set Is Subscription: false
  • Best For: Basic directory listings, one-time promotions

Subscription Plans

  • Use Case: Recurring premium features
  • Configuration: Set Is Subscription: true with appropriate interval
  • Best For: Featured listings, ongoing premium services

Mixed Approach

  • Offer both one-time and subscription options
  • Different feature sets for different commitment levels
  • Flexible pricing for various business needs

Feature Management

Enabled Features (✓)

  • Clearly communicate included benefits
  • Use compelling feature descriptions
  • Highlight value propositions

Disabled Features (✗)

  • Show what’s available in higher tiers
  • Create upgrade incentives
  • Maintain feature comparison clarity

7. Payment Provider Specific Guides

PayPal Integration

  1. Create PayPal Buttons:
    • Go to PayPal Developer or Business account
    • Create payment buttons with fixed amounts
    • Copy button URLs or use PayPal.me links
  2. Best Practices:
    • Use PayPal.me for simplicity: https://paypal.me/yourbusiness/amount
    • Set up invoice templates for recurring payments
    • Enable payment notifications in PayPal settings

RazorPay Integration

  1. Payment Links Setup:
    • Create payment links in RazorPay Dashboard
    • Set appropriate amount and currency
    • Configure success/failure URLs if possible
  2. Regional Benefits:
    • Support for UPI, wallets, and net banking
    • Local currency support
    • Familiar payment methods for Indian users

Square Integration

  1. Online Checkout:
    • Set up Square Online store items
    • Create checkout links for each plan
    • Use Square’s built-in receipt system
  2. Advantages:
    • Integrated business tools
    • Professional payment processing
    • Comprehensive reporting

8. Managing Payments and Approvals

Payment Tracking

Since automatic verification isn’t available:
  • Regular Monitoring - Check your payment processor daily
  • Payment References - Use order IDs or customer emails to match payments
  • Record Keeping - Maintain spreadsheet or CRM tracking
  • Customer Communication - Send confirmation emails manually

Approval Workflow

  1. Payment Verification - Confirm payment in your processor
  2. Directory Approval - Approve listing in admin panel
  3. User Notification - Inform user of approval status
  4. Feature Activation - Enable premium features if applicable

Customer Support

  • Payment Issues - Direct users to your payment processor support
  • Refund Requests - Handle through your payment processor
  • Feature Questions - Manage through your directory support

9. Optimization Strategies

Pricing Strategy

  • Market Research - Compare competitor pricing
  • Value Proposition - Clearly communicate benefits
  • A/B Testing - Test different price points and features
  • Seasonal Adjustments - Offer promotional pricing

Conversion Optimization

  • Clear CTAs - Use compelling button text
  • Feature Comparison - Make plan differences obvious
  • Social Proof - Add testimonials or usage numbers
  • Urgency Elements - Limited-time offers or scarcity

Plan Performance

  • Analytics Tracking - Monitor which plans perform best
  • User Feedback - Collect insights on pricing and features
  • Regular Updates - Adjust plans based on performance data

Tax Handling

  • Manual Tax Management - Handle tax calculations yourself
  • Regional Compliance - Ensure compliance with local tax laws
  • Record Keeping - Maintain proper financial records

Terms and Conditions

  • Clear Policies - Define refund and cancellation terms
  • Service Agreements - Specify what’s included in each plan
  • Payment Terms - Clarify billing cycles and renewals

Troubleshooting Common Issues

  • Test Links - Verify all payment links work correctly
  • Mobile Compatibility - Ensure links work on mobile devices
  • Link Expiration - Some providers have expiring links

User Confusion

  • Clear Instructions - Provide step-by-step payment guidance
  • FAQ Section - Address common payment questions
  • Support Documentation - Create help guides for users

Manual Process Challenges

  • Scalability - Consider automation as volume grows
  • Response Time - Set expectations for approval timeframes
  • Error Handling - Have processes for payment discrepancies
Custom payment providers require more manual management but offer maximum flexibility. Consider upgrading to Stripe or Lemon Squeezy for automatic processing as your directory grows.

Scaling Considerations

When to Upgrade

Consider switching to automated solutions when:
  • Processing 10+ payments per week
  • Manual verification becomes time-consuming
  • You need automated subscription management
  • Customer support load increases significantly

Migration Path

  • Data Export - Export customer and payment data
  • Plan Migration - Recreate plans in new payment system
  • Customer Communication - Inform users of payment changes
  • Gradual Transition - Phase migration to minimize disruption