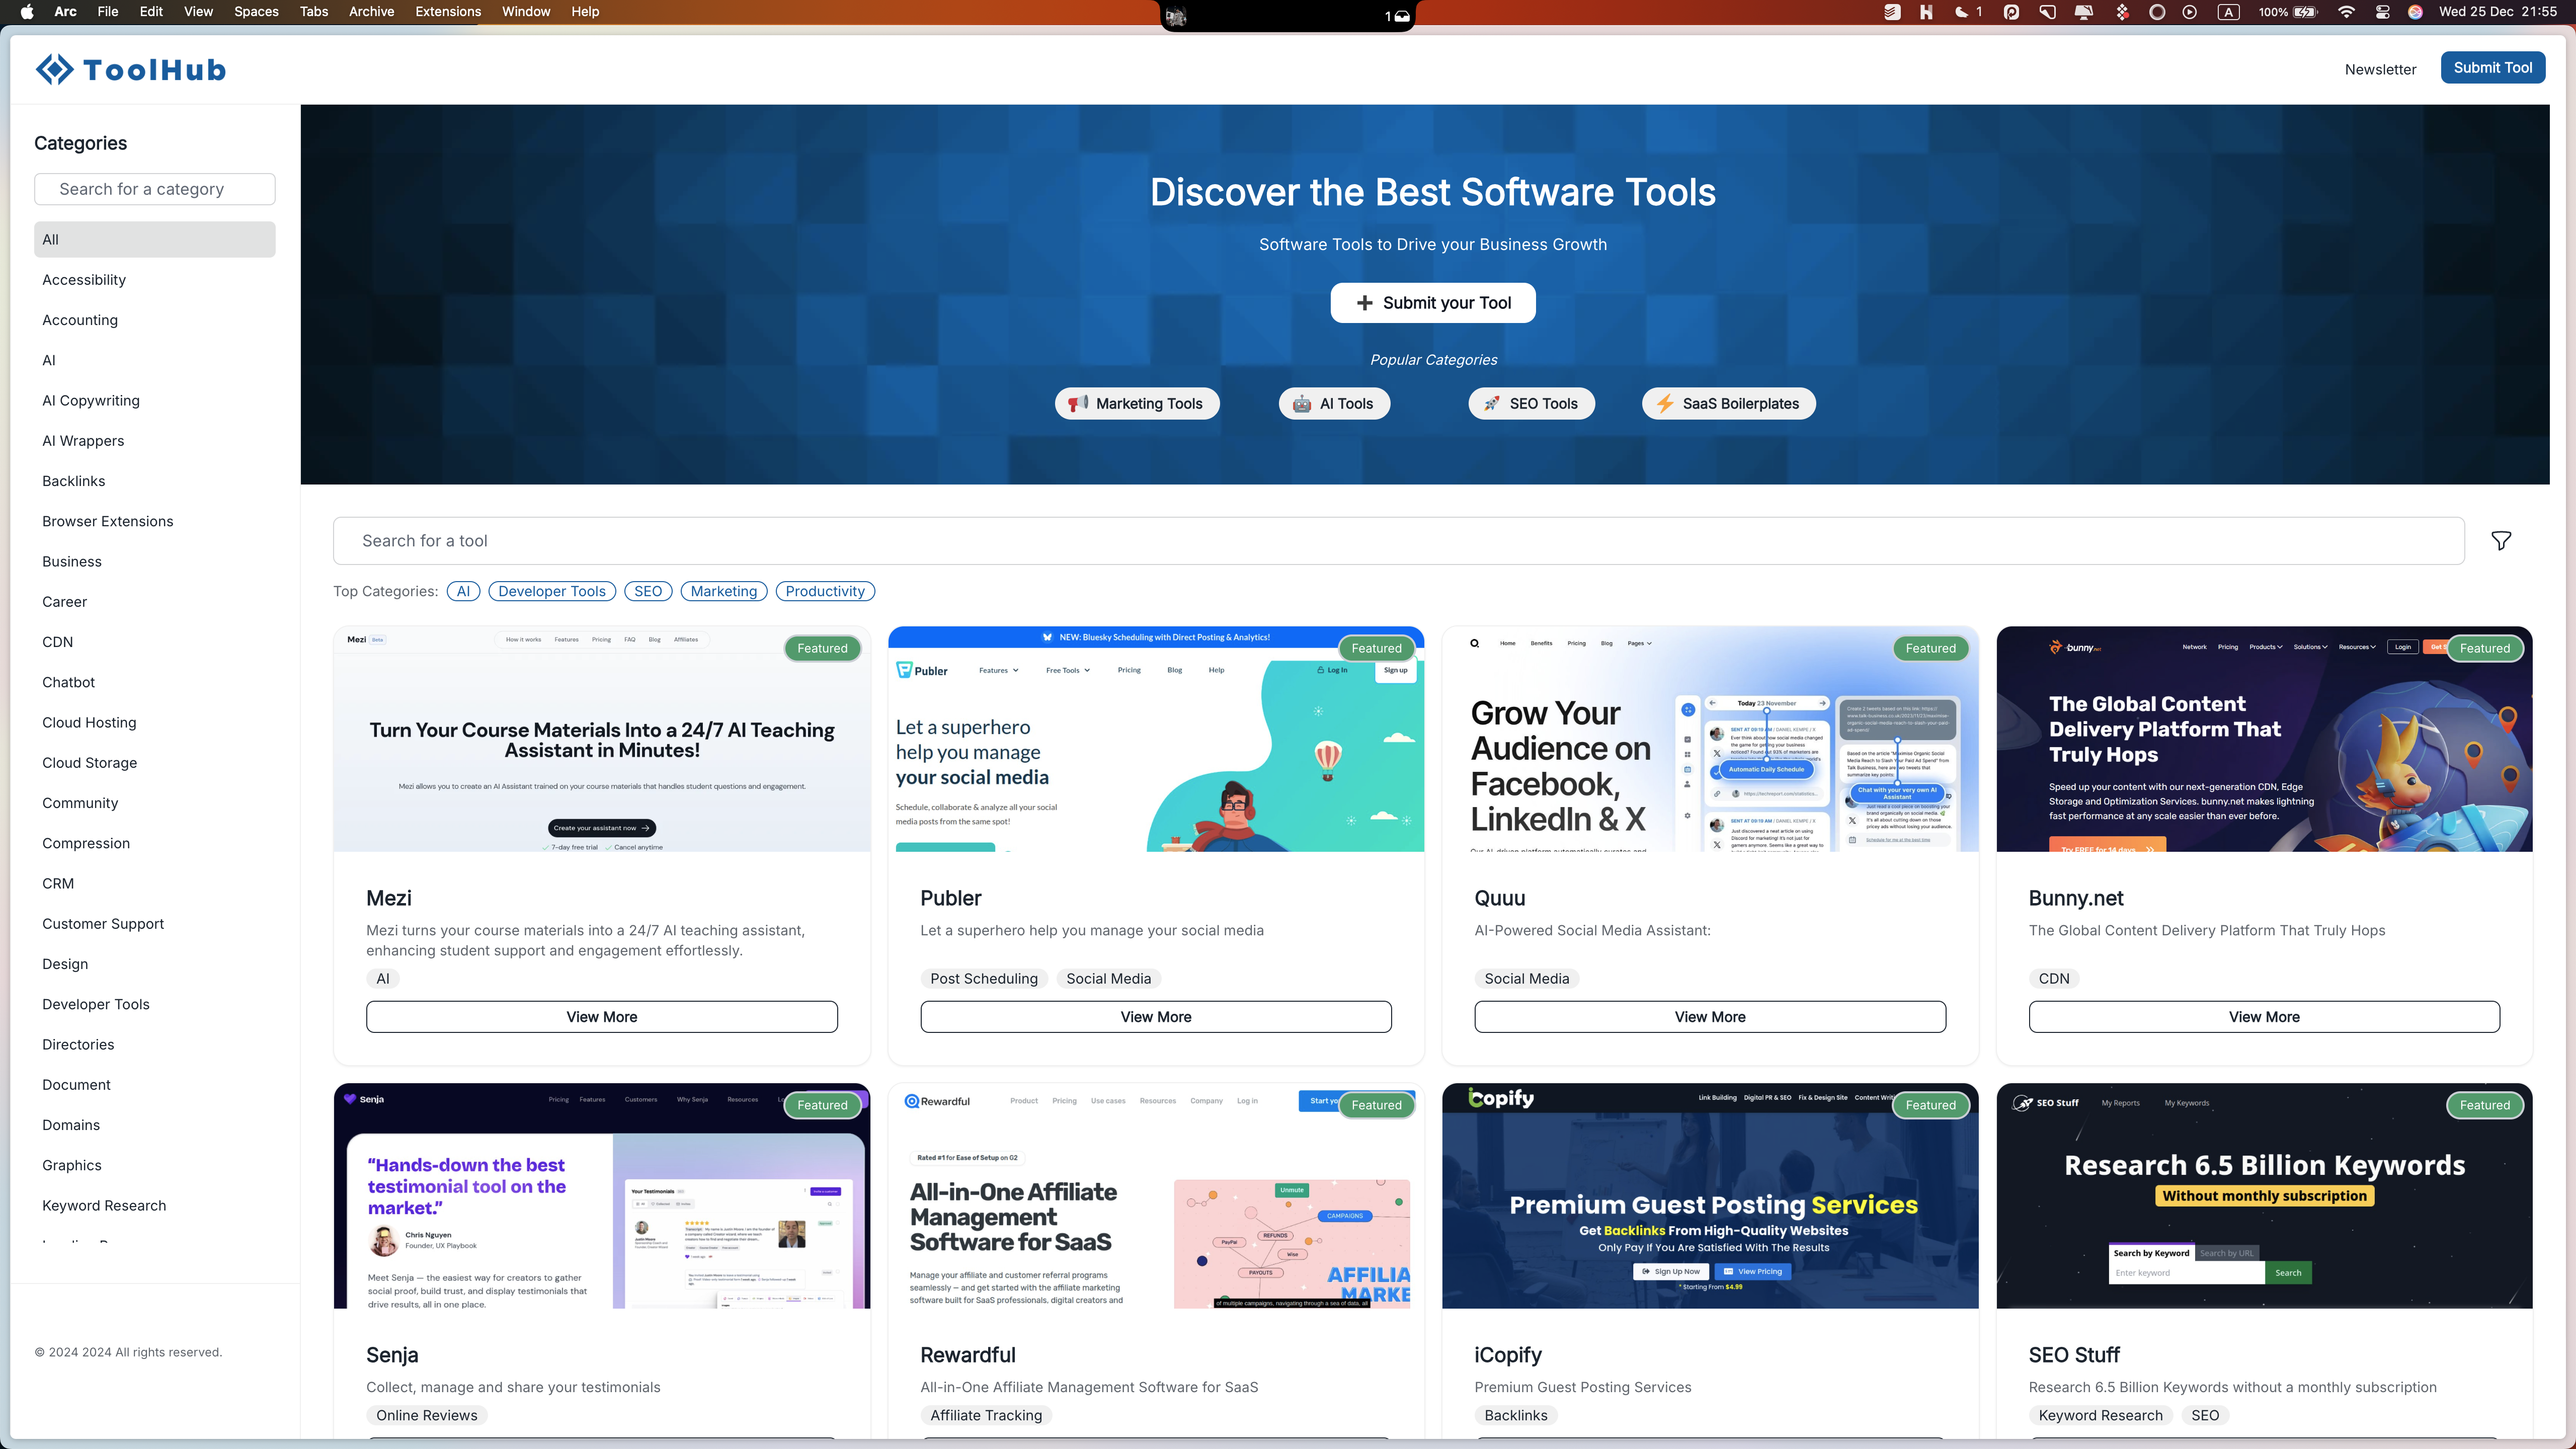
Unlike other No-Code tools, to create a directory with Directify you don’t need to create all the sections yourself, do drag & drop blocks, etc.

Creating a directory with Directify is simple and straightforward. Just follow these steps:

  1. Enter your directory name - This will appear in the header
  2. Add a title - This helps describe what your directory is about
  3. Write a description - Give visitors more context about your directory

That’s all you need to get started! While there are many other customization options available, they’re completely optional and can be configured later.

Once your directory is created, you’ll have access to the full suite of customization options to make it truly your own.

Columns explained

Name

Your directory name appears next to your logo in the header. It helps visitors recognize your brand right away. You can change it anytime in settings or hide it completely - it’s up to you!

Title

The title of the directory is displayed prominently in the header and serves as the main H1 heading for SEO purposes. It helps visitors and search engines understand what your directory is about. Like other elements, you can choose to hide it if it doesn’t fit your design preferences. The title also will be used as the SEO title (meta title) for your website.

You can overwrite SEO metadata if you want to make them more specific.

Description

The description appears below the title in the header section and helps provide additional context about your directory. Like the title, it serves dual purposes - it’s visible to visitors and also used as the meta description for SEO. You can customize or hide the description through the settings panel.