Creating Custom Fields
When creating a custom field, you’ll need to configure several settings:Basic Settings
- Resource - Currently only Listing resource is supported
- Name - Database field name (e.g., “working_hours”)
- Label - Display name shown to users (e.g., “Working Hours”)
- Type - Field type options:
- Text - Single-line text input
- Number - Numeric values
- Date - Date picker
- File Upload - File attachments
- URL - Link with validation
- Email - Email with validation
- Rich Editor - Visual rich text editor
- Markdown - Markdown editor
- Textarea - Multi-line text
- Checkbox - True/false toggle
- Rating - Star rating input
- Select - Dropdown with custom options
- List - Multiple values as a list
- Button - Clickable button field
- Placeholder - Example text shown in input (e.g., “10:00 - 18:00”)
- Description - Helper text explaining the field
- Default Value - Pre-filled value for new listings
Placement Options
Control where the field appears on the listing page: After Tags, After Categories, Before Content, After Content. For listing cards: Before Categories, After Categories, Before Buttons, After Buttons.Icons
You can add an icon to your custom field:- Heroicon - Select from the Heroicon library (takes priority)
- Custom Icon - Upload your own icon as a fallback
Visibility Settings
Fine-tune how the field is displayed:- Is Required - Make the field mandatory for submissions
- Show on Card - Display field value on listing cards
- Is Visible - Control overall field visibility
- Show Label - Display field label on listing page
- Show Label on Card - Display field label on listing cards
- Show on Public Submission - Allow field input on public submission forms
- Show Icon - Display icon on listing page
- Show Icon on Card - Display icon on listing cards
- Filterable - Available for Number, Checkbox and Date fields. Enables filtering on listings page
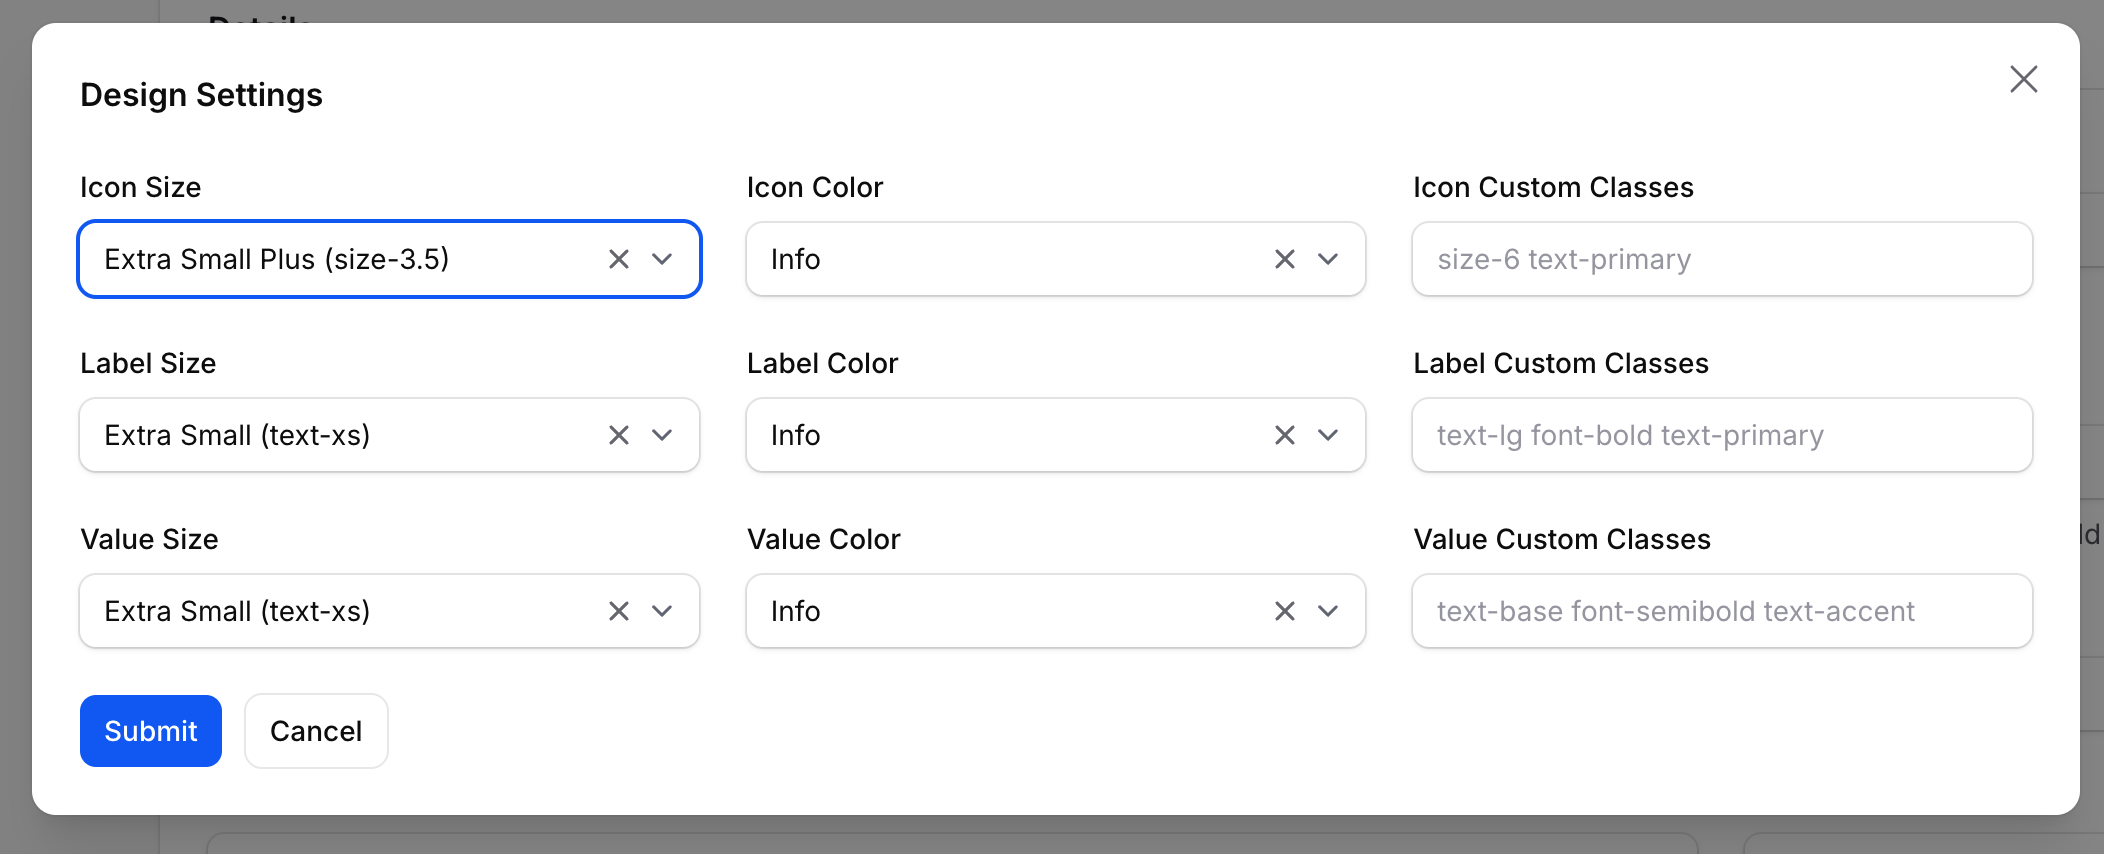
Design Settings
Customize the appearance of each custom field with the Design Settings button:- Icon - Size (Extra Small to XXL) and color (Primary, Secondary, Accent, etc.)
- Label - Size (text-xs to text-2xl) and color
- Value - Size and color
- Custom Classes - Add your own Tailwind classes for full control
Custom fields are a powerful way to tailor your directory to specific industries or use cases. For example, you could add fields for:
- Business hours (Text/Rich Editor)
- Price ranges (Number)
- Certifications (File Upload)
- Service areas (Textarea)
- Terms acceptance (Checkbox)
- And more